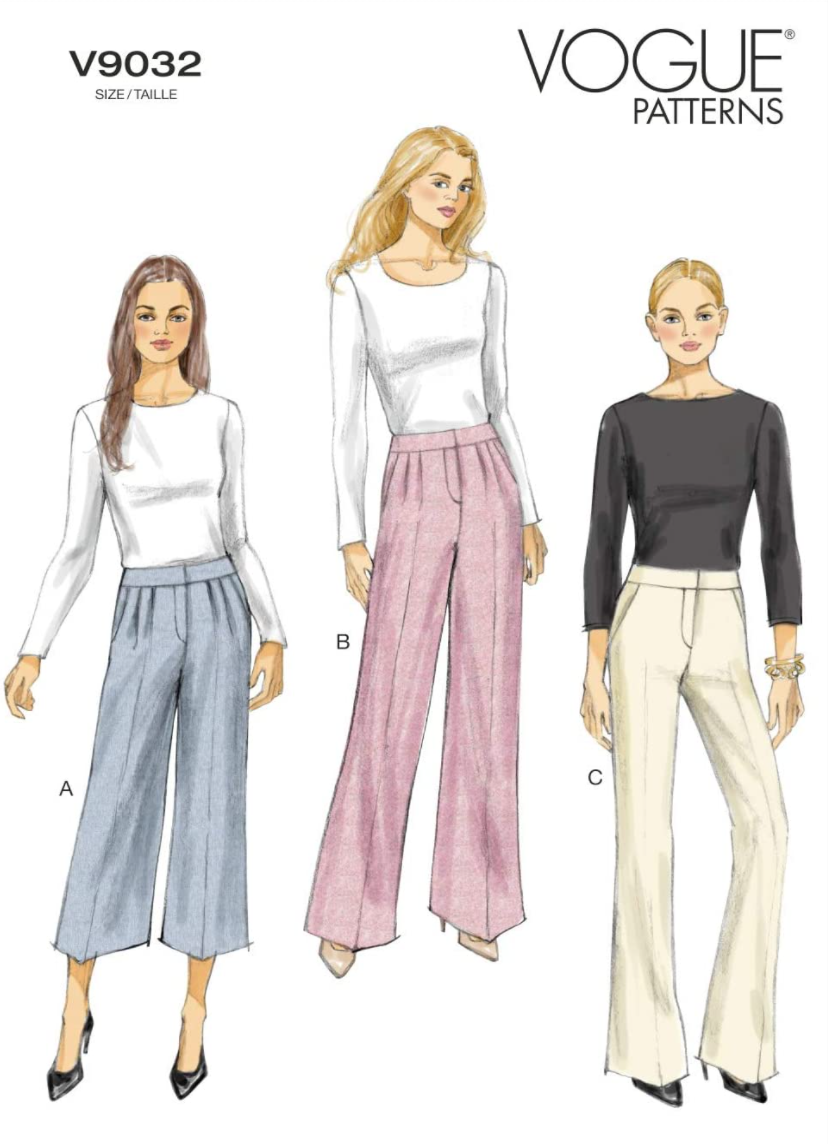
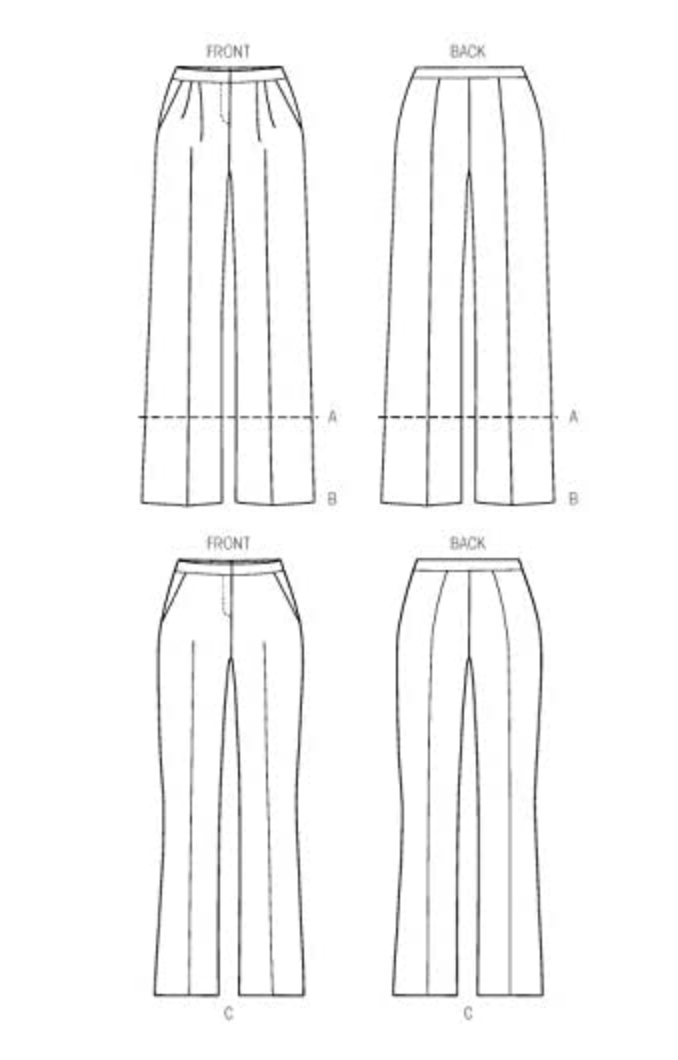
After a decade of leggings and skinny jeans, the wide legged/bootcut pant is finally coming back to free our legs from the tyranny of stretch fabric! After searching fruitlessly for the perfect pair of ready-to-wear bootcut pants, I decided to make my own from Vogue 9032, a pattern for a classic bootcut pant with fly front closure and slanted side pockets.
This pattern is a TNT pattern for many sewists out there (check out all of the rave reviews here), and it is easy to see why — these pants have an uber-flattering cut that enhances the backside of its wearer, even when its wearer is in possession of an extremely flat bum (like me).
I cut a size 10, tapering to a size 12 at the waist. Other than that, I made no other adjustments to the pattern, and it fit perfectly right out of the envelope. I finished the edges of the fabric using my serger. The waistband is constructed slightly differently from other pants I’ve made in the sense that the bottom of the waistband is bound using bias-cut lining fabric. (This is as opposed to the method I usually use, which is folding in the bottom of the facing of the waistband and slipstitching it closed to give a clean finish.)
In general, the instructions are clear, although you won’t need them if you have sewn fly front pants before, because the construction of these pants is quite straightforward. However, the instructions for cutting the bias-cut binding strip (for the waistband) made me scratch my head a bit until I finally figured out that the ends of the strip are not supposed to align when you sew them together — instead, the strips are supposed to be slightly offset, so that about 7/8 inch of the end pokes out. Then you start cutting the strip from that edge that pokes out and you keep cutting until you end up with one continuous strip of fabric (it’s hard to describe in words, but imagine peeling an apple in one continuous strip). Once I finally figured out the construction method, I thought the method was ingenious but the final resulting strip was not really wide enough to use to bind the final waistband, because there wasn’t enough width to comfortably fold the strip in half, then fold over each side again. The final folded strip became really, really narrow and it was a bit fiddly to sew. Next time I make this pattern up, I’ll either dispense with the binding entirely or make the bias strip slightly wider.
The other thing to note is that the pattern calls for a 7 inch zipper, but the final inserted zipper measures only 5 inches. The pattern instructions tell you to cut the zipper down to size, but that seems silly to me if you can start with a 5 inch zipper to begin with.
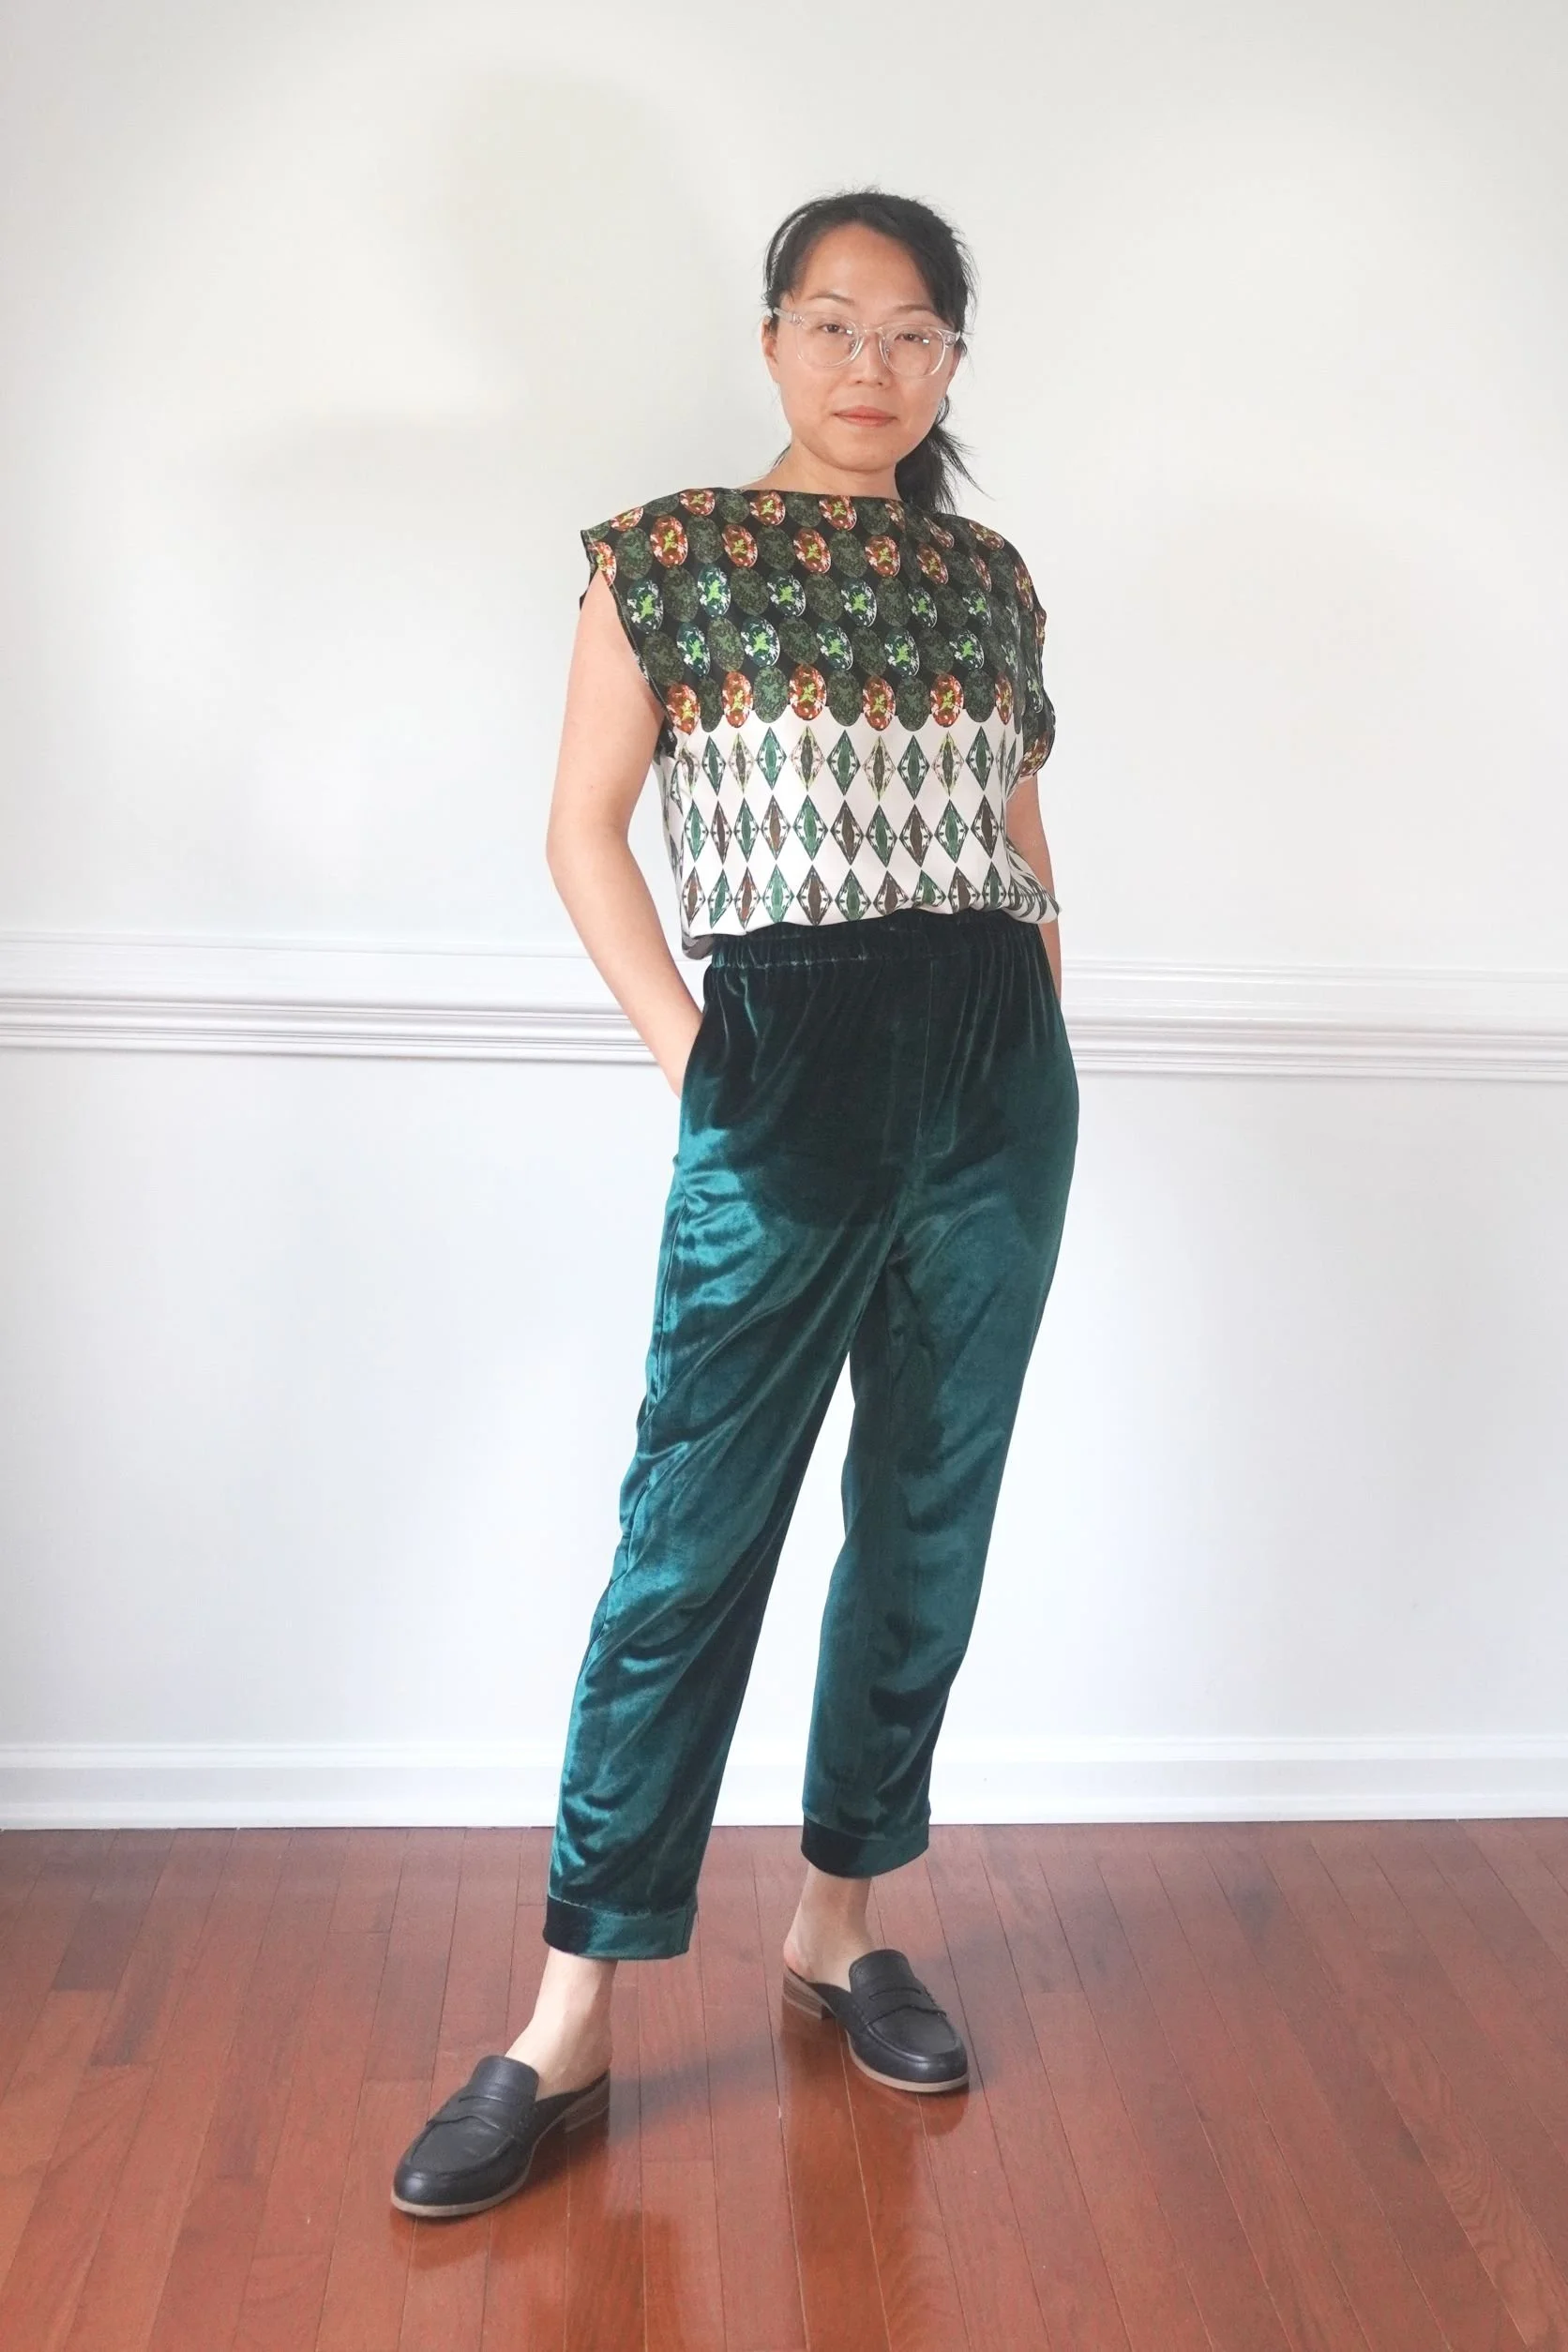
The other thing that I am slightly dissatisfied with is the fabric choice. I bought this red polyester suiting fabric for about $8 at Fulton Fabrics, one of the last remaining mom and pop fabric stores in Brooklyn Heights (an area that was once bustling with discount fabric stores). The bright color of the fabric called out to me, and my impulse control had been worn down by a long stressful week at work, so I caved in and bought the cheap fabric. However, much like junk food bought on a whim at the cash register of a grocery store, this purchase turned out to be regrettable — the cheap polyester fabric was really difficult to press and it feels slightly scratchy against the skin. I might add a lining (or at least a partial lining above the knee) in the future to reduce the scratchiness, but the smarter path would be to steer clear of polyester and stick to wool suiting fabric in the future.
The above reservations aside, I actually quite like the finished product, which really helps elongate my (short) figure. I’m 5’2” and 125 pounds, but I feel like these pants make me look several inches taller. I particularly love the slanted side pockets and seam down the back of the leg, which I think help draw the eye down the figure. I think the pants are flattering to my flat bum, and they’ll look even better in the back once they get a professional press from my dry cleaner. (As I said above, this polyester fabric didn’t press very well, so I really need the dry cleaner’s professional iron for this one.)
I plan to pair this with a silk button-down shirt made out of a hot pink silk crepe fabric, for an eye-searing assault of color. Stay tuned for that make!


