
Now that we have all of the materials and equipment we need, it’s time to start making the bag!
The first step is to download and assemble the PDF pattern. (You can download the free pattern here.) If you’ve never worked with a PDF pattern before and you want more detailed instructions, check out Colette’s several years old but still useful blog post here.
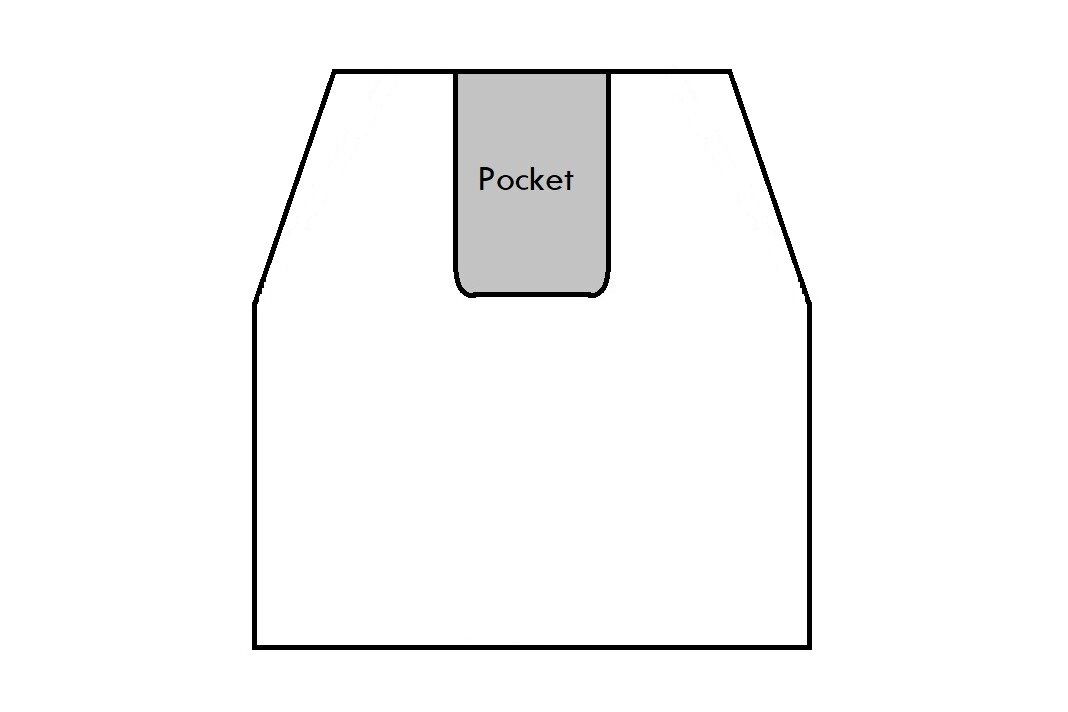
The assembled pattern should look like this:

Cutting the Pieces
Once you have the pattern assembled, place the pattern pieces on top of your exterior material and use a cutting mat and rotary cutter to cut around the pattern. I recommend using a rotary cutter instead of scissors because you can get straighter and cleaner edges with a rotary cutter, and this is especially important when working with leather because we won’t be turning the edges under (more on this in the post on edge finishing, which will come later). I sometimes use a ruler in addition to the pattern to ensure that the long edges of the bag are perfectly straight.

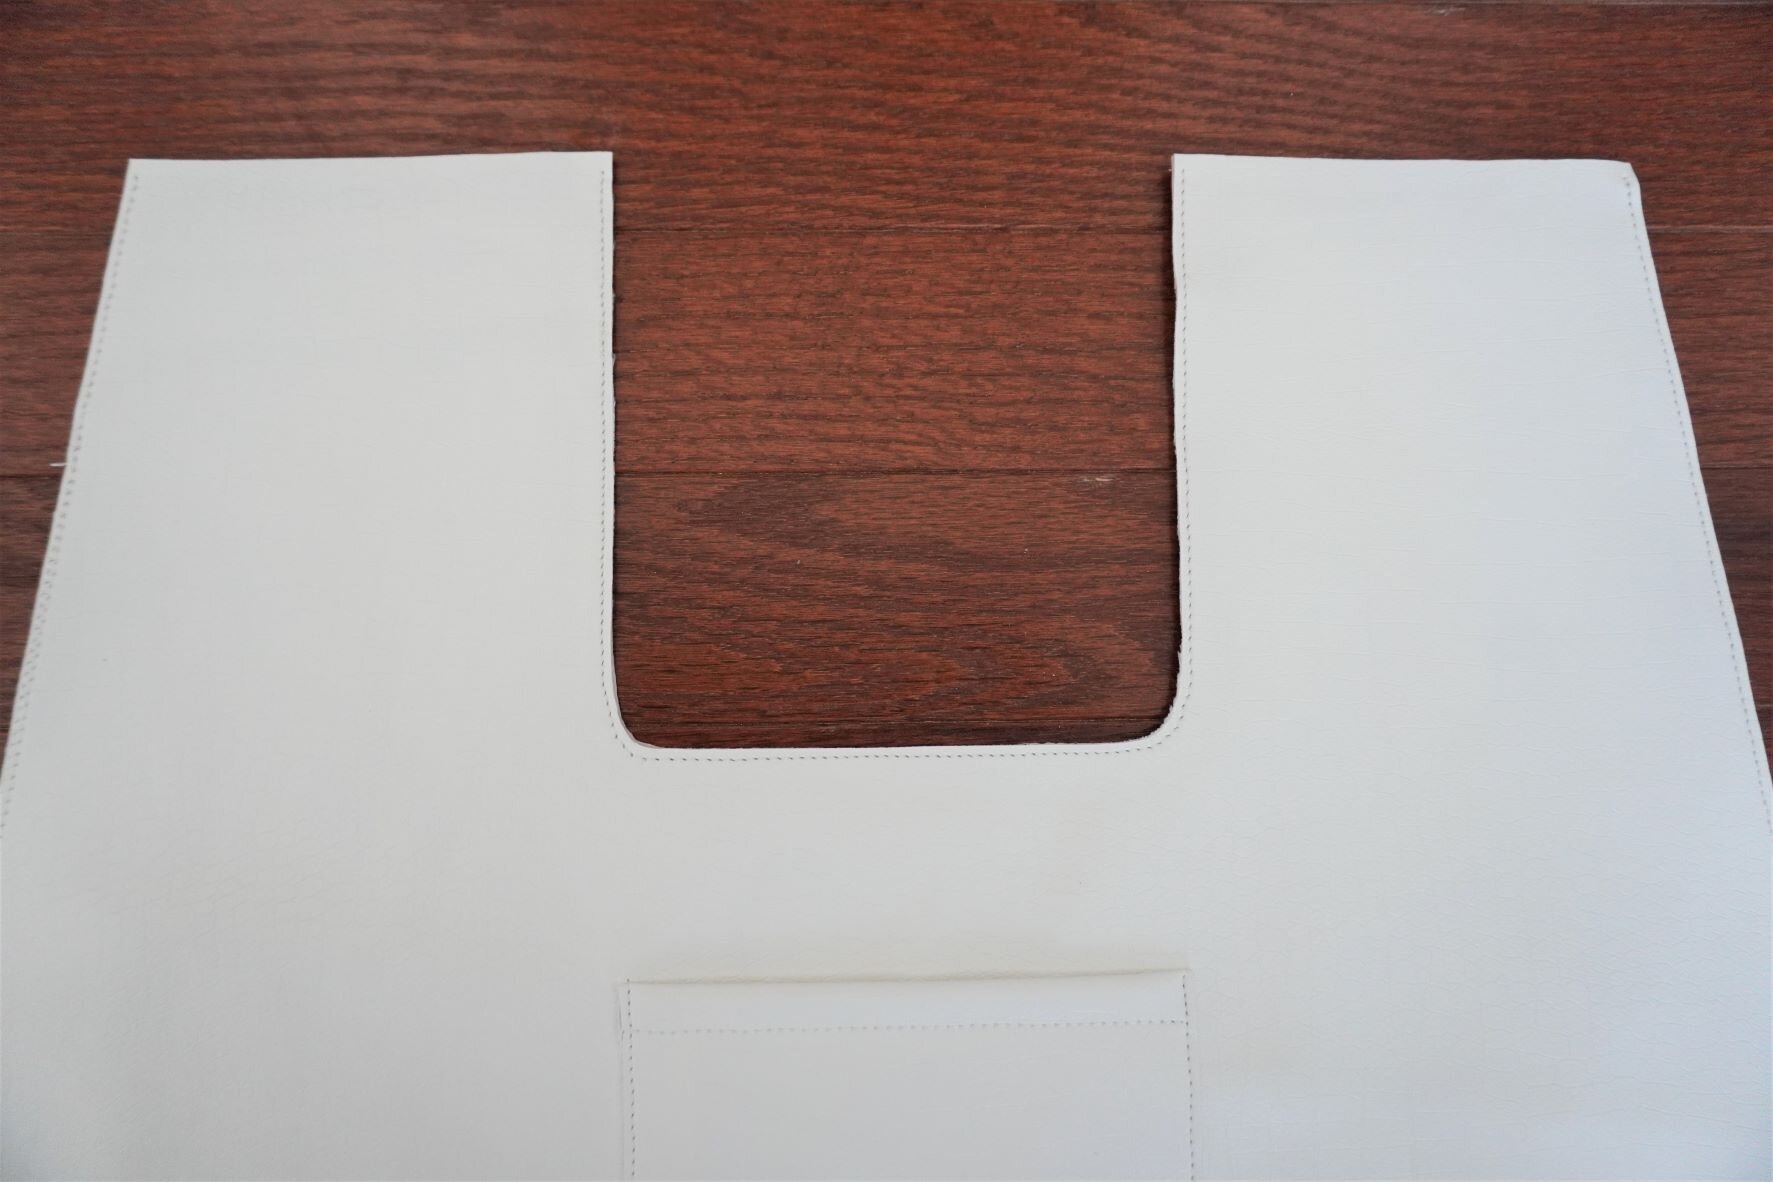
Note that the pocket piece of the bag is the piece that you cut out to form the handle of the bag front (see pic below).
Once you have all of the exterior pieces cut out, it’s time to move on to the lining. Place the pattern piece for the bag front on the lining material and cut out with a rotary cutter. For one of the bag fronts, cut the lining so that the bottom ½ inch of the bag front is not lined. For the other bag front, cut the lining so that it goes all the way to the bottom of the bag front pattern piece. The ½ inch that is not lined on one of the bag front pieces will be lapped over the other bag front piece. I omit the lining in that lapped area to reduce bulk.

Next, cut the interfacing of the handle pieces out of Decovil Heavy. The interfacing piece is half the width of the handle piece, and a bit short of the edge.
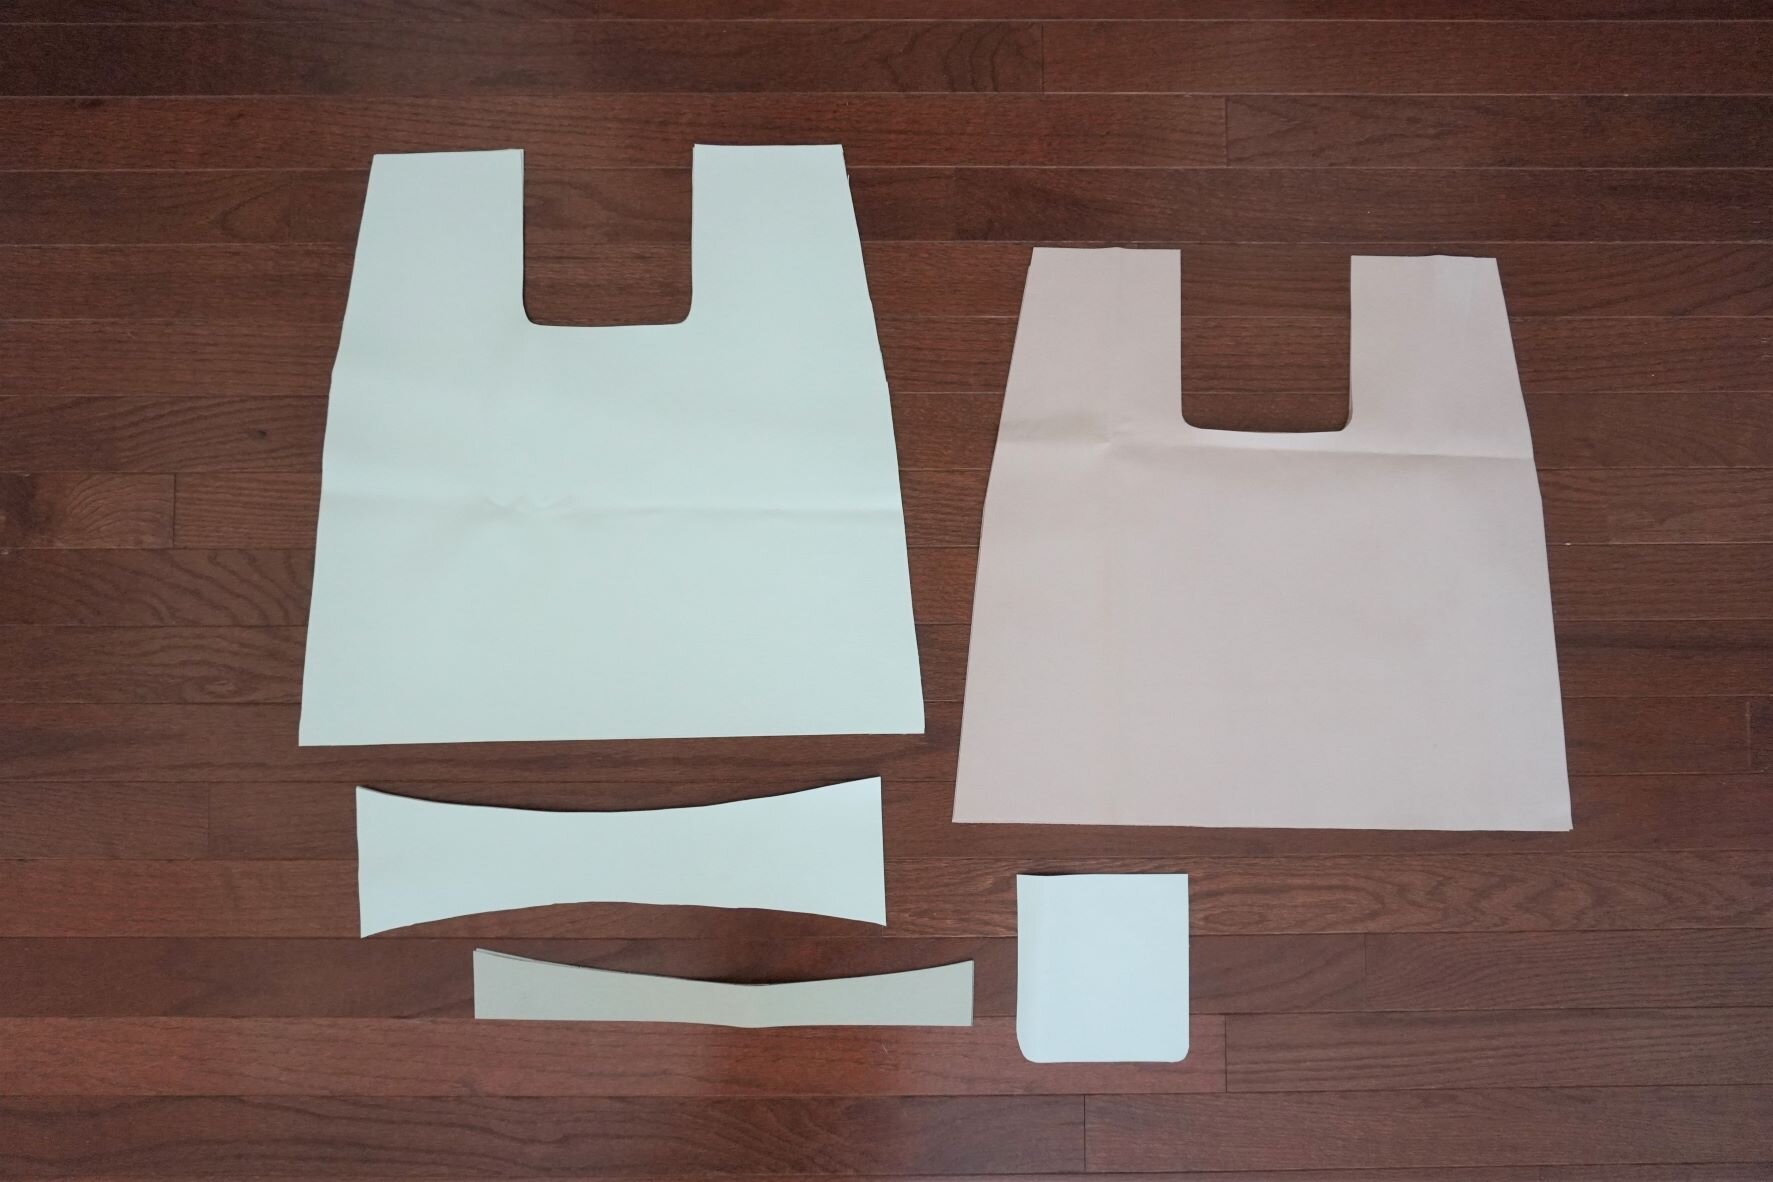
Here are all of the pieces cut out:
Prepping the Pieces
After cutting out the pieces, you will need to take a few steps to prepare the pieces for construction. First, fuse the Decovil interfacing to the handle piece. To do this, position the interfacing on the handle piece so it is about 3/8 inch from the curved edge and ½ inch in from the short edge of the handle. Iron to fuse the interfacing in place.

If you aren’t using a magnetic snap in your bag, move on to the next step. If you are, install the snap parts into the lining bag front pieces. I usually do this by using an exacto knife or my seam ripper to cut the slits where the prongs of the magnetic snap go through the lining material, then pushing the prongs back so it lies flush with the lining. Here’s a link to a useful video tutorial on how to install magnetic snaps.
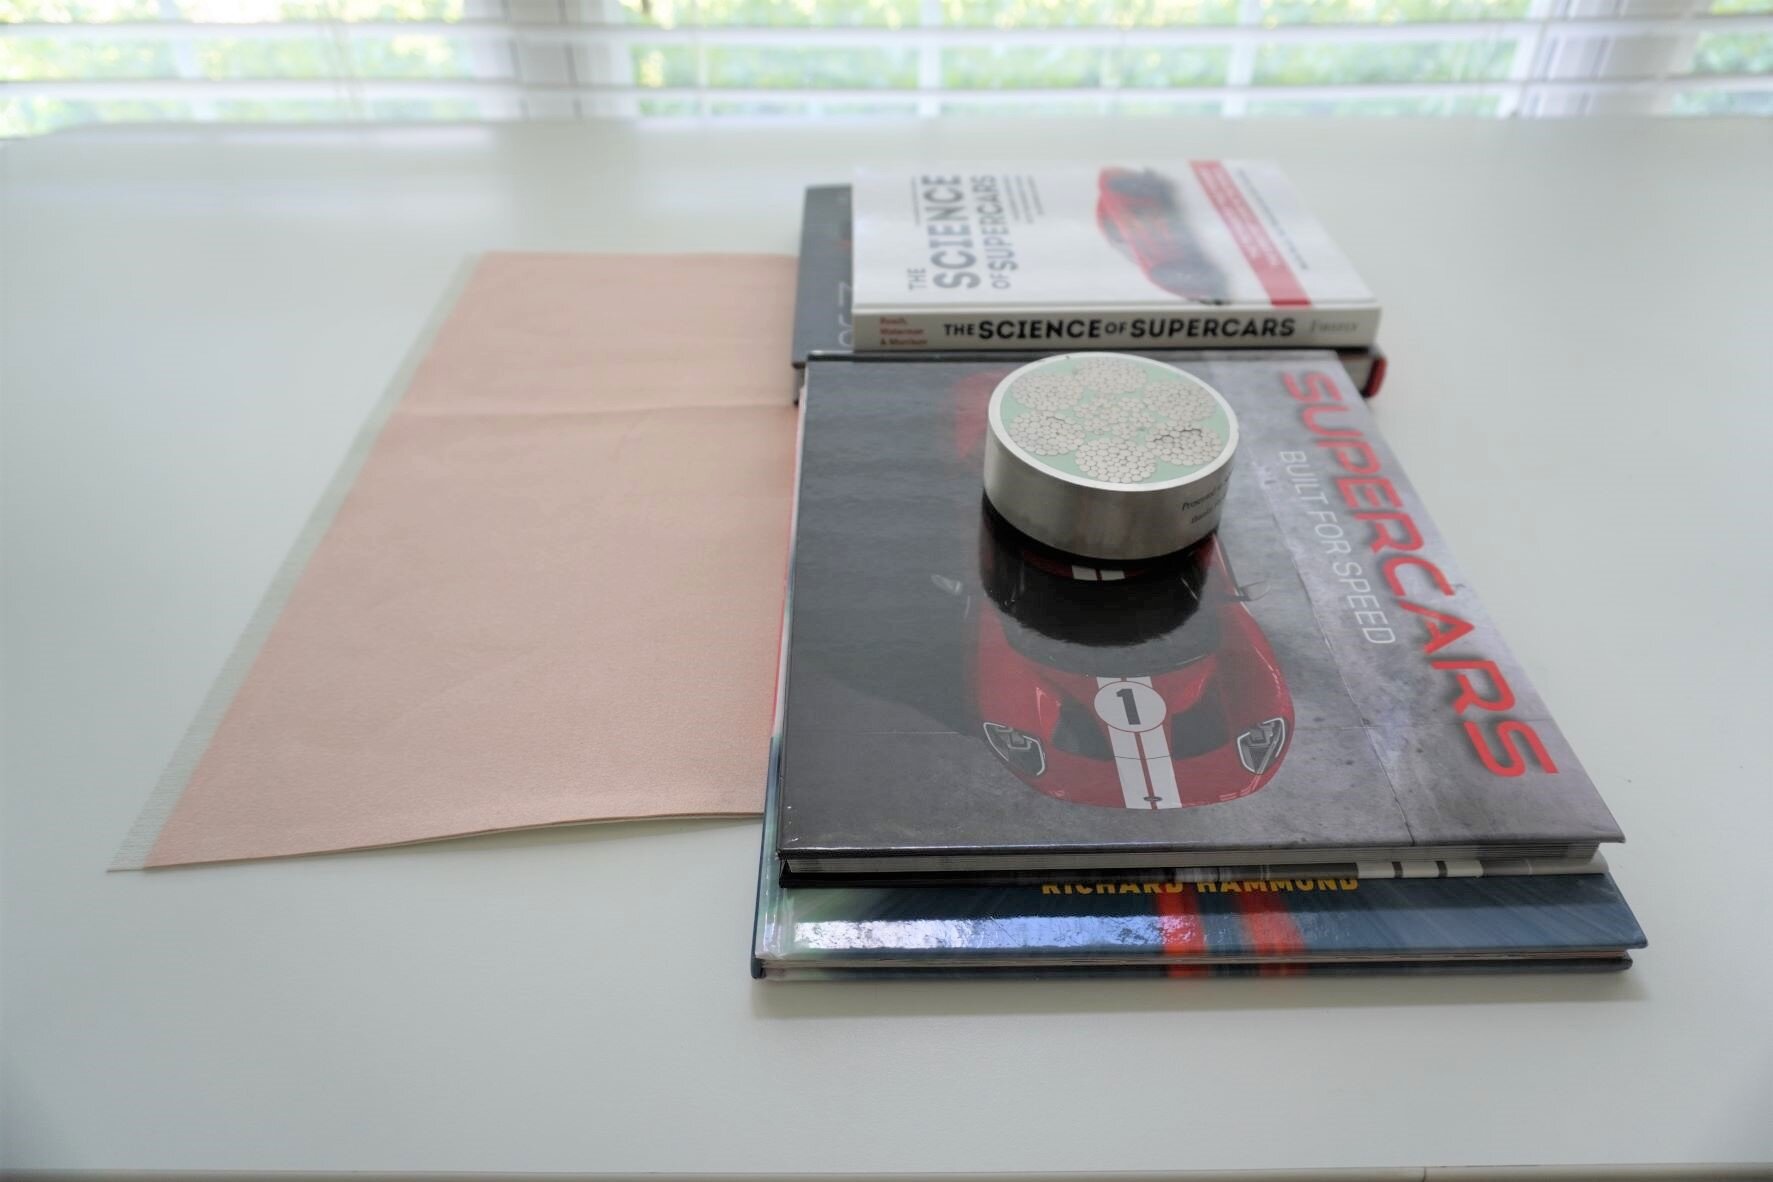
Next, glue the lining material to the exterior bag front. Apply a thin layer of leather glue to the exterior leather and spread it around using a plastic disposable knife or a popsicle stick (it is important to spread the glue into an even layer because otherwise you will be able to see the ridges of the glue through the lining). Place the lining piece on top, matching edges as best you can. Weigh down the pieces (I use books for this purpose) and leave to dry for awhile. (I like to leave the pieces to dry overnight if possible.)
Once the glue is dried, use your rotary cutter to clean up any edges where the lining and exterior leather pieces do not line up exactly. We need a nice, clean, flush edge to finish with edge paint later on.

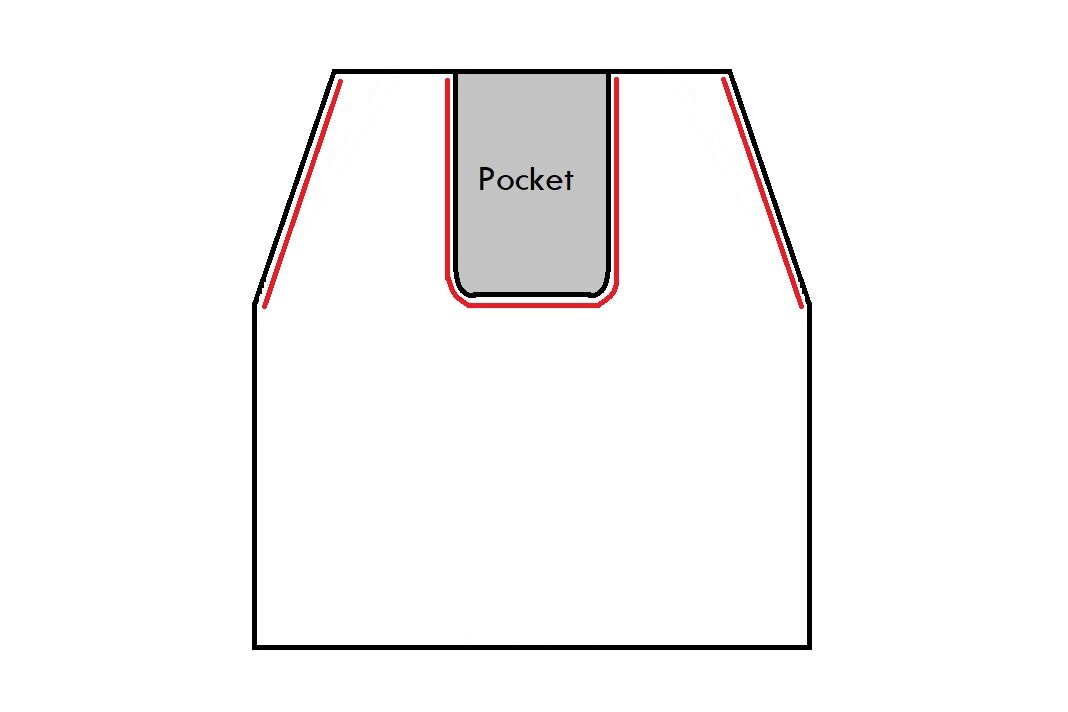
Next, topstitch on the edges of the cutout and down the top half of the sides of the bag front pieces (see pic below). I like to topstitch using a stitch length of 3 about 1/8 inch from the edge, but experiment on a piece of scrap to figure out what looks good on your exterior material.
Finally, take your pocket piece and turn down the top edge of the pocket ½ inch. Topstitch down to secure.
And that’s it! We’ve finished cutting out and prepping all of our pieces. Now it’s time for the most exciting part – stitching the bag together!